Create Your First Workflow
This guide will help you create your first flow using Raylu. We will walk you through the process of creating a simple flow that sends an email using Gmail every Monday morning at 9:00 AM.
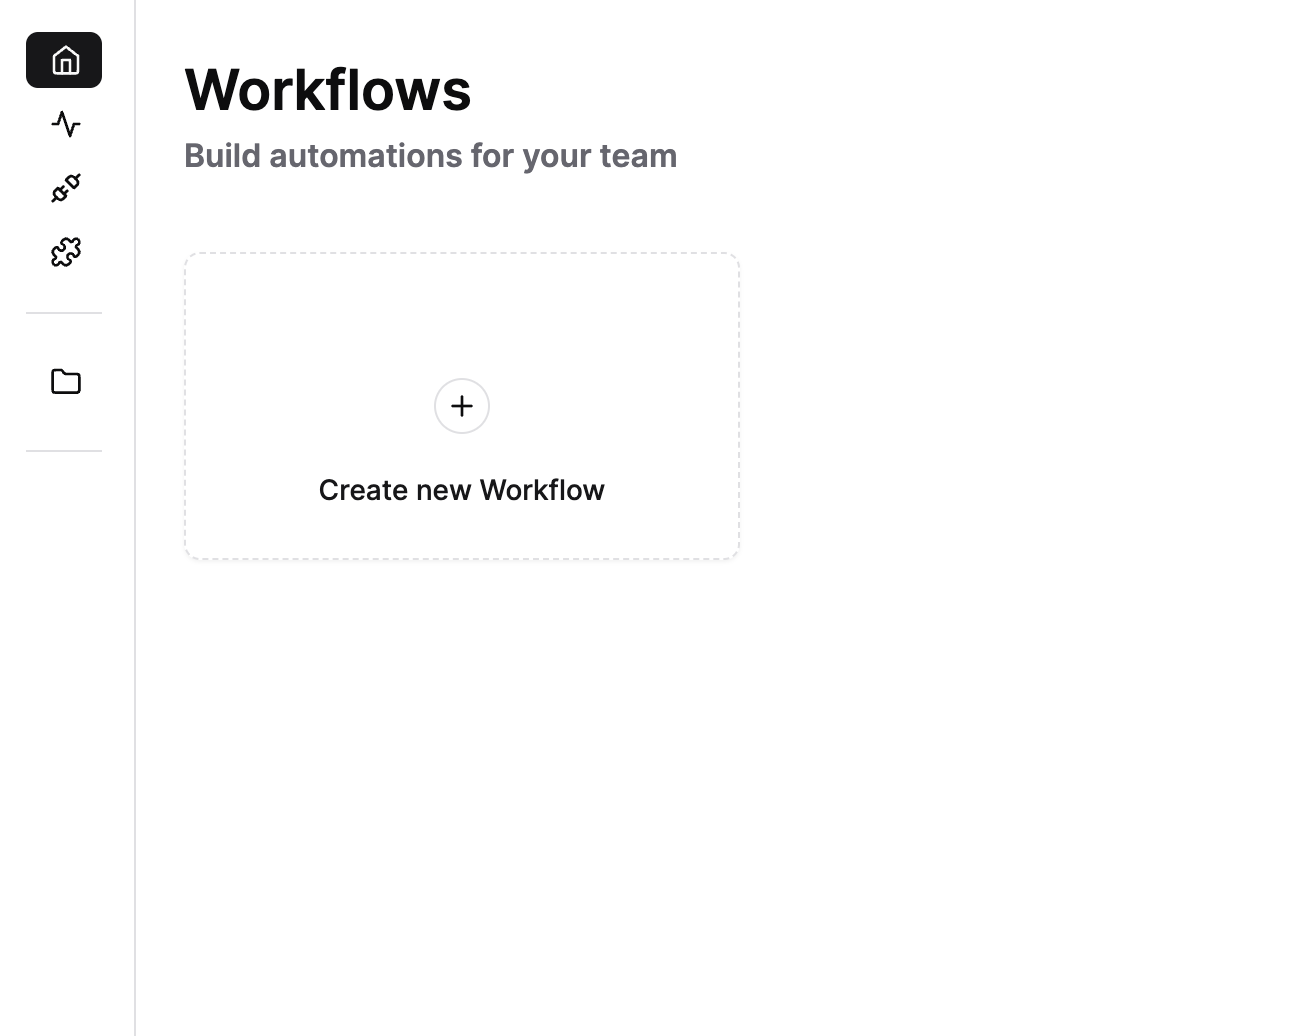
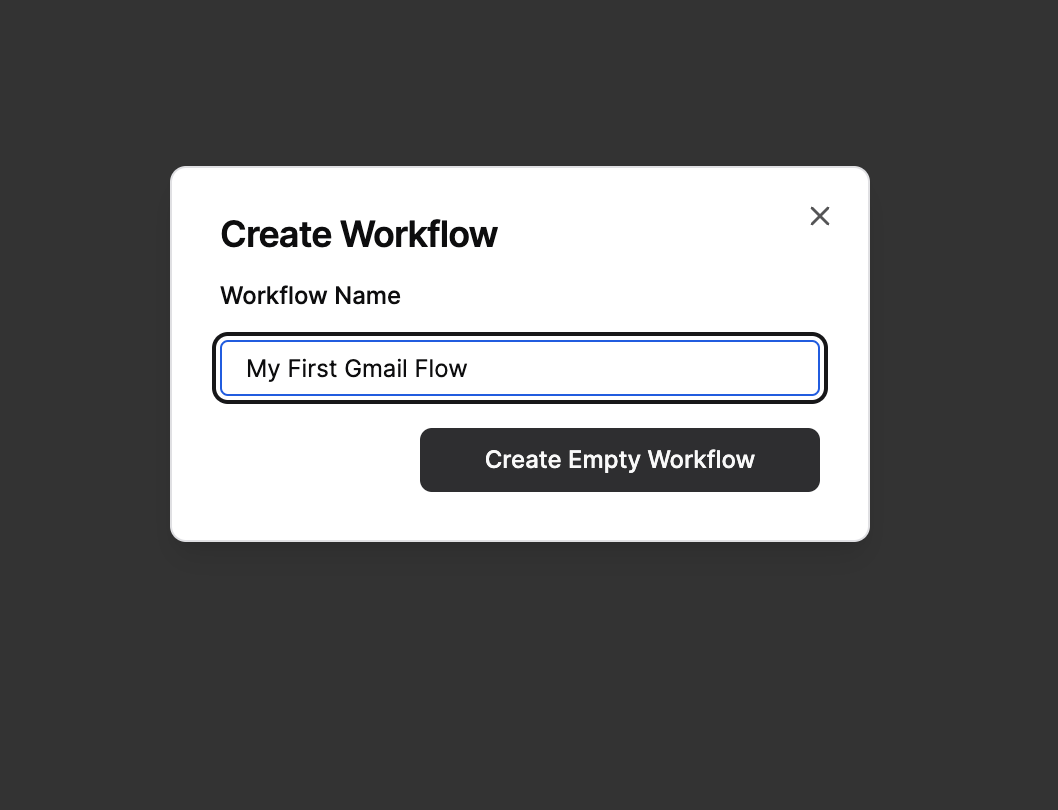
Create an empty workflow
First things first, we need to create our very first flow. To do this, log into the web app at https://app.raylu.ai, navigate to home if you are not already there, and click on the "Create New Workflow" button, then choose a name for your workflow and click "Create Empty Workflow".
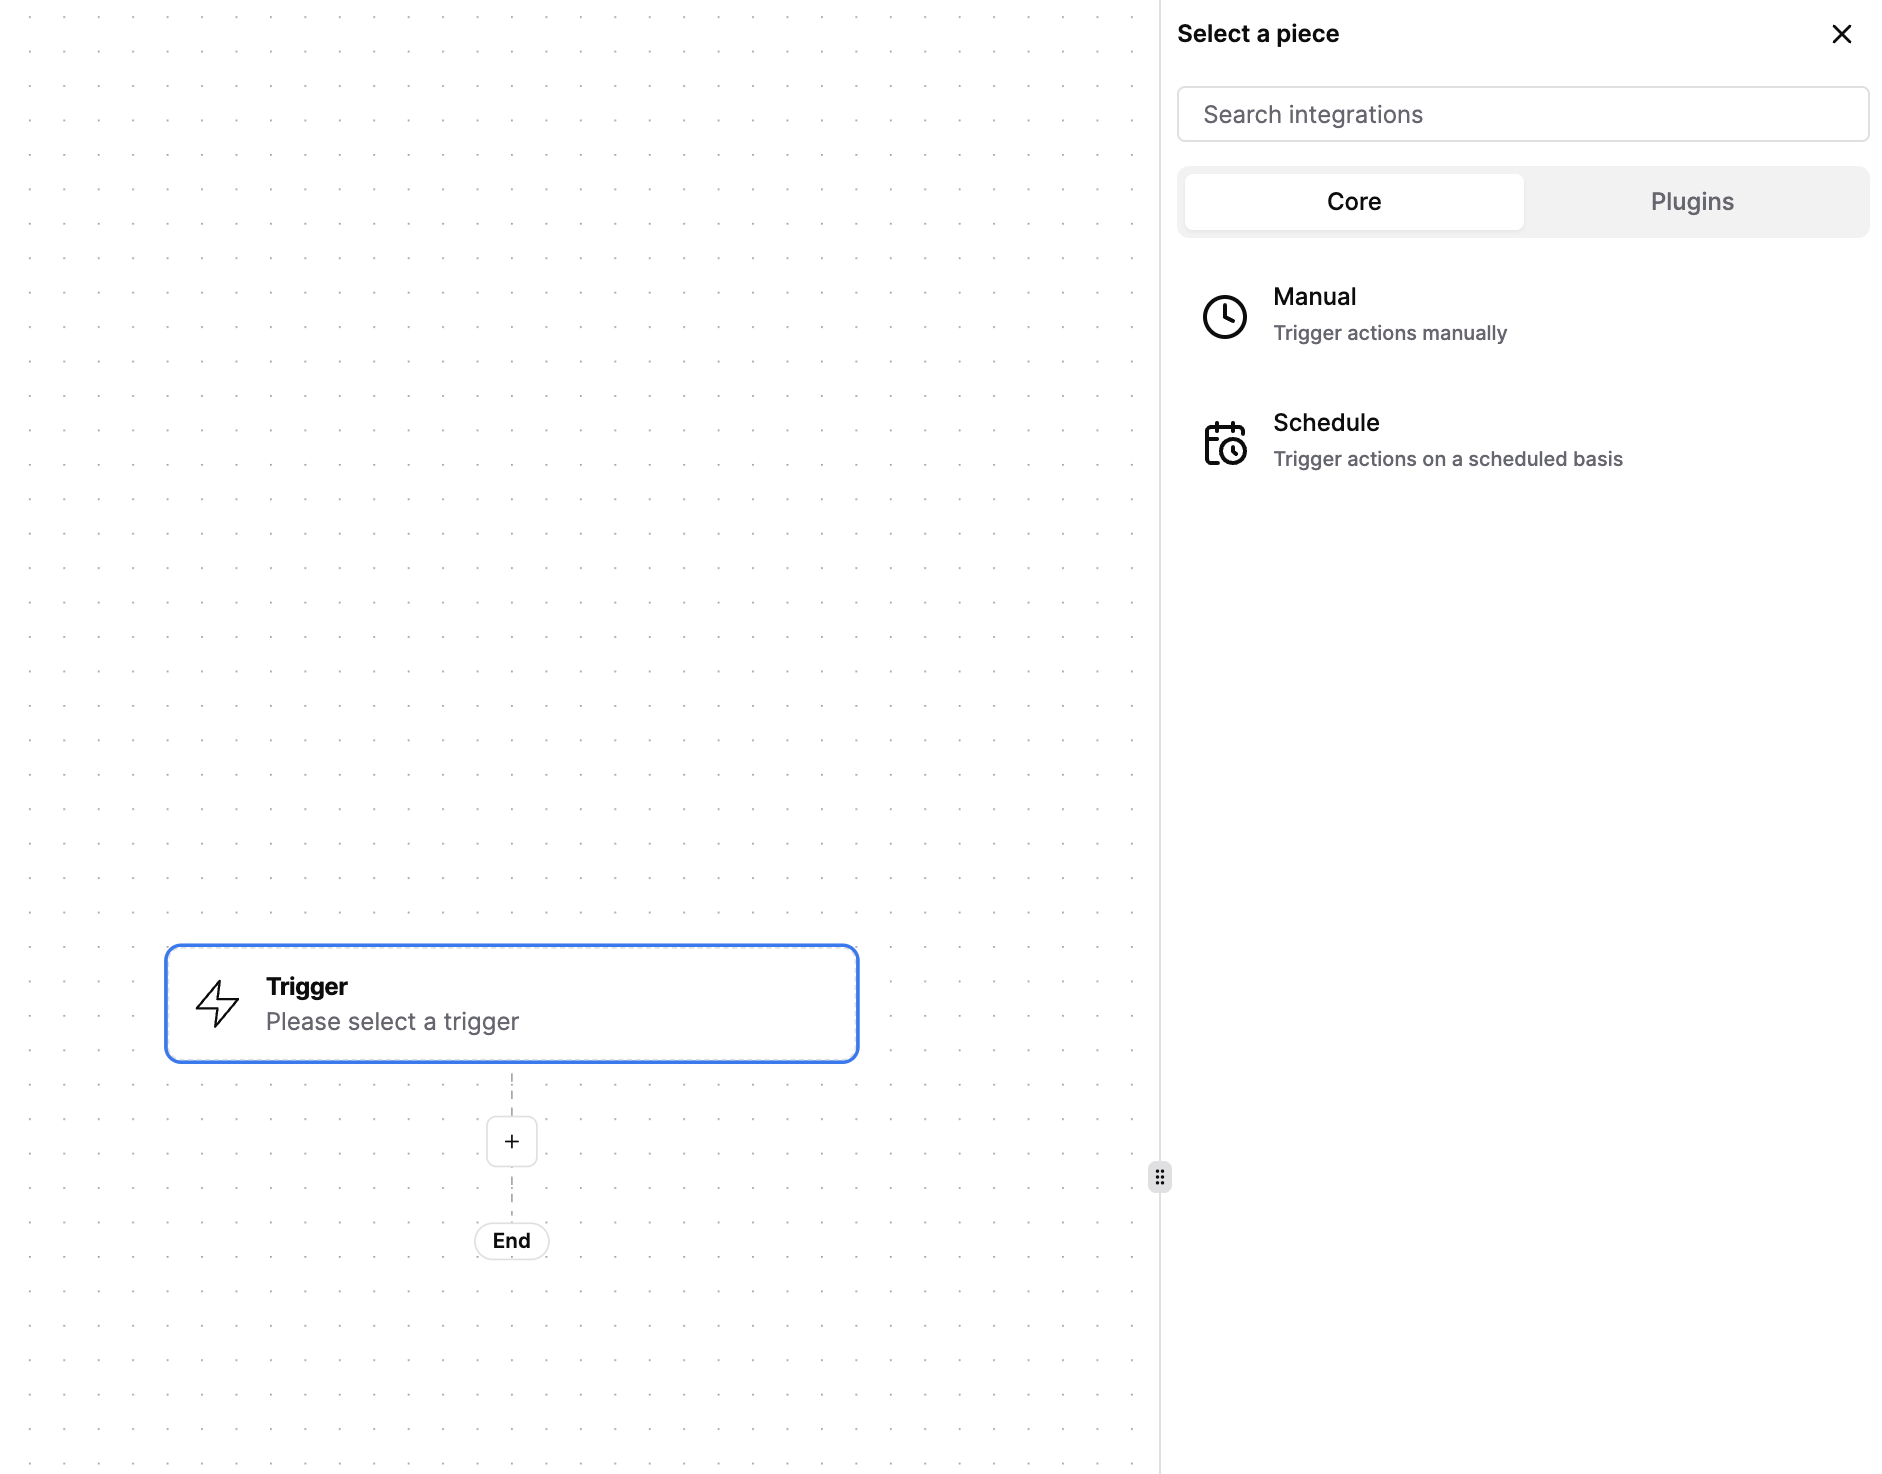
Select a Trigger
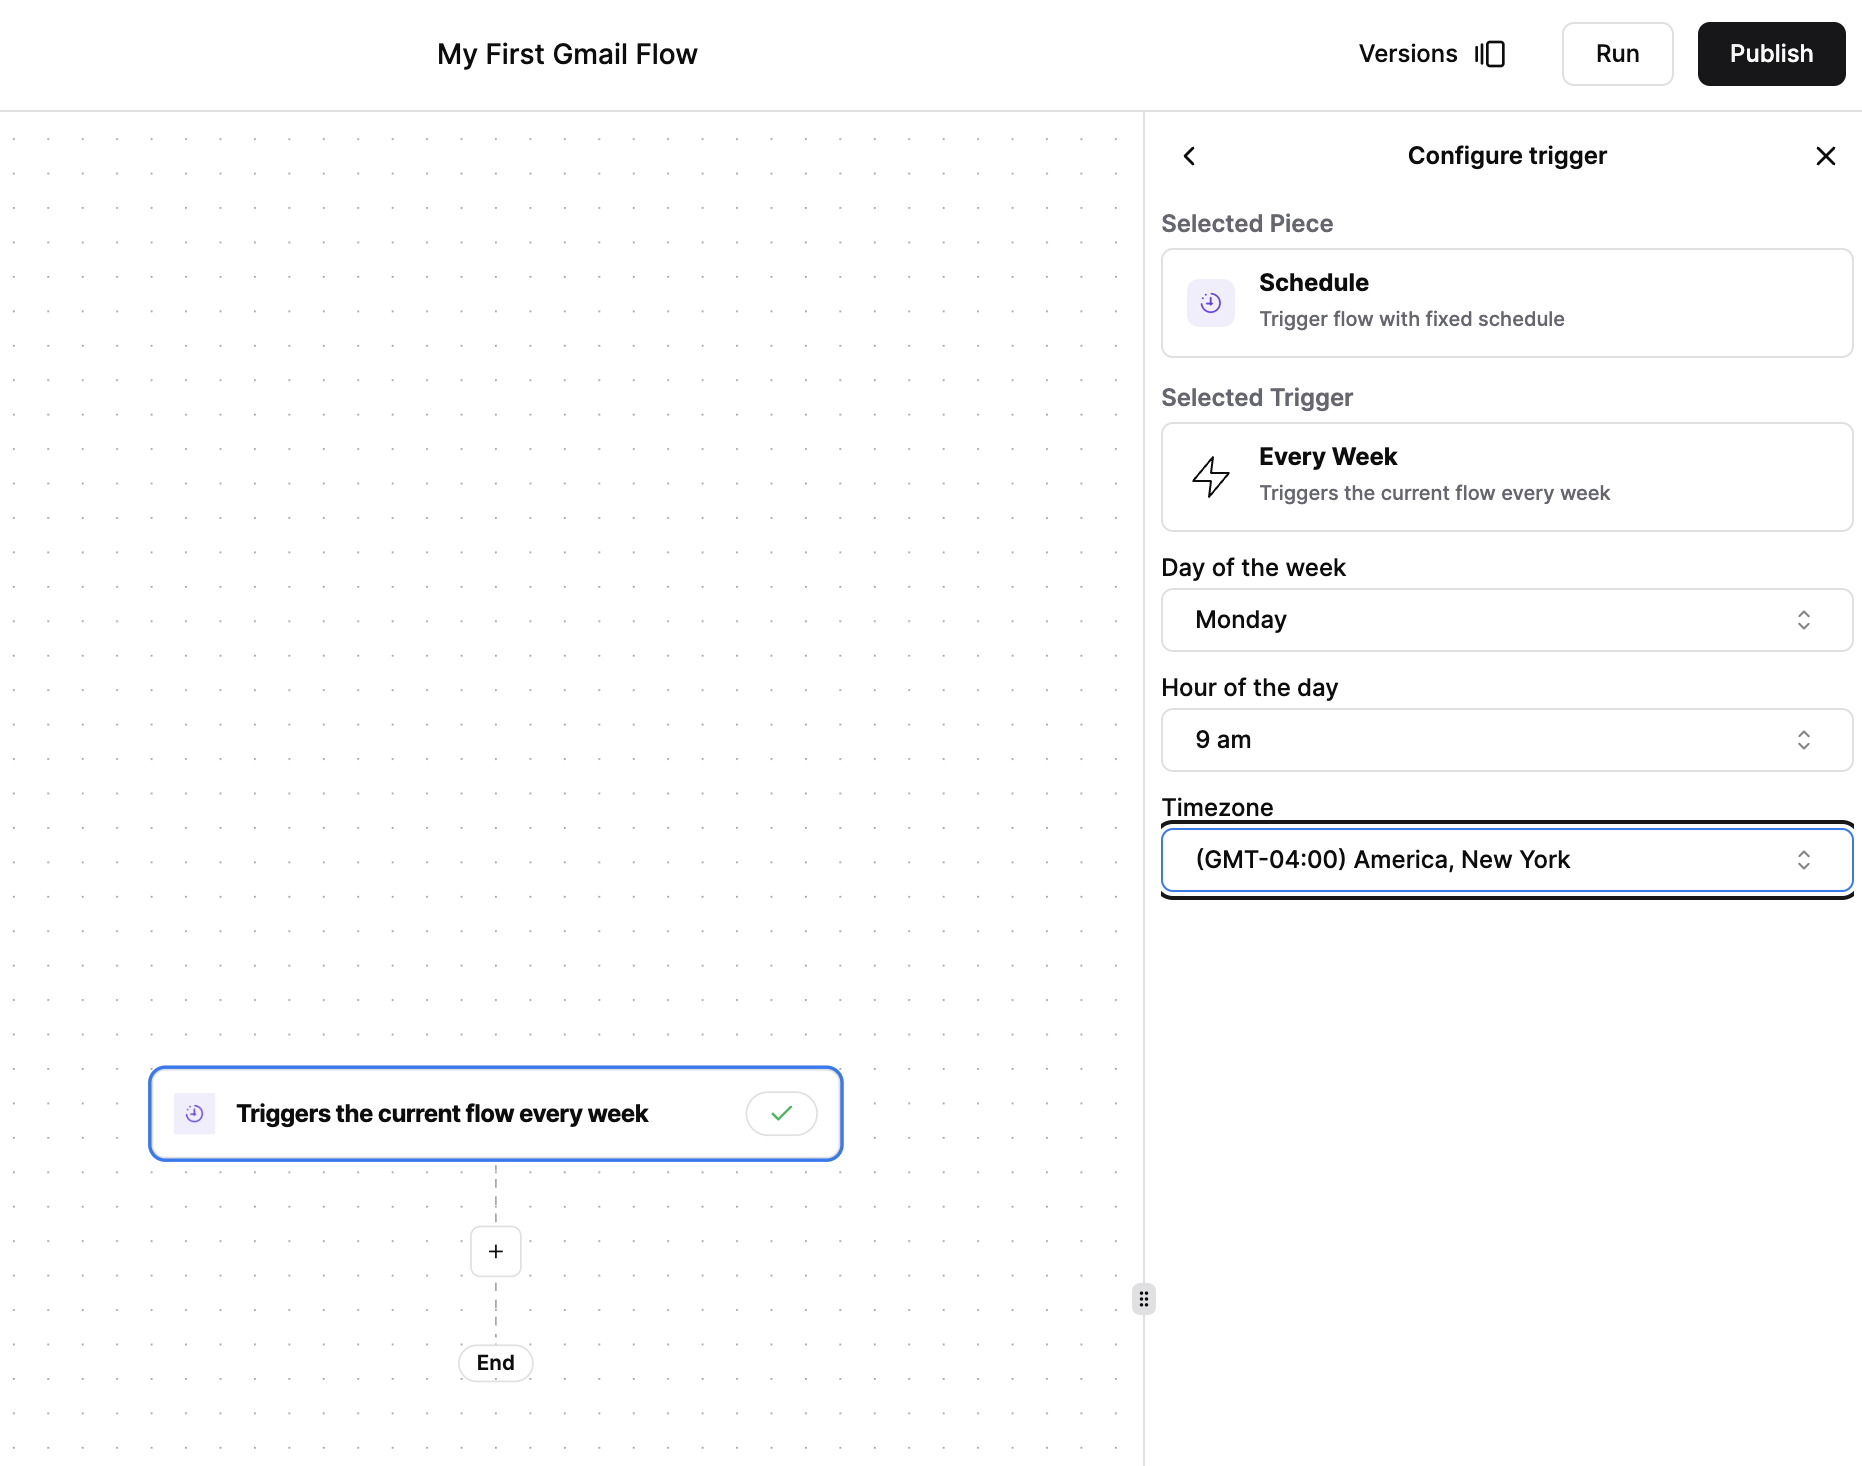
For this example workflow, we will use the "Schedule" trigger. This trigger allows you to schedule your flow to run either at an interval or at a specific time. Click on the trigger node, then select the "Schedule" trigger.
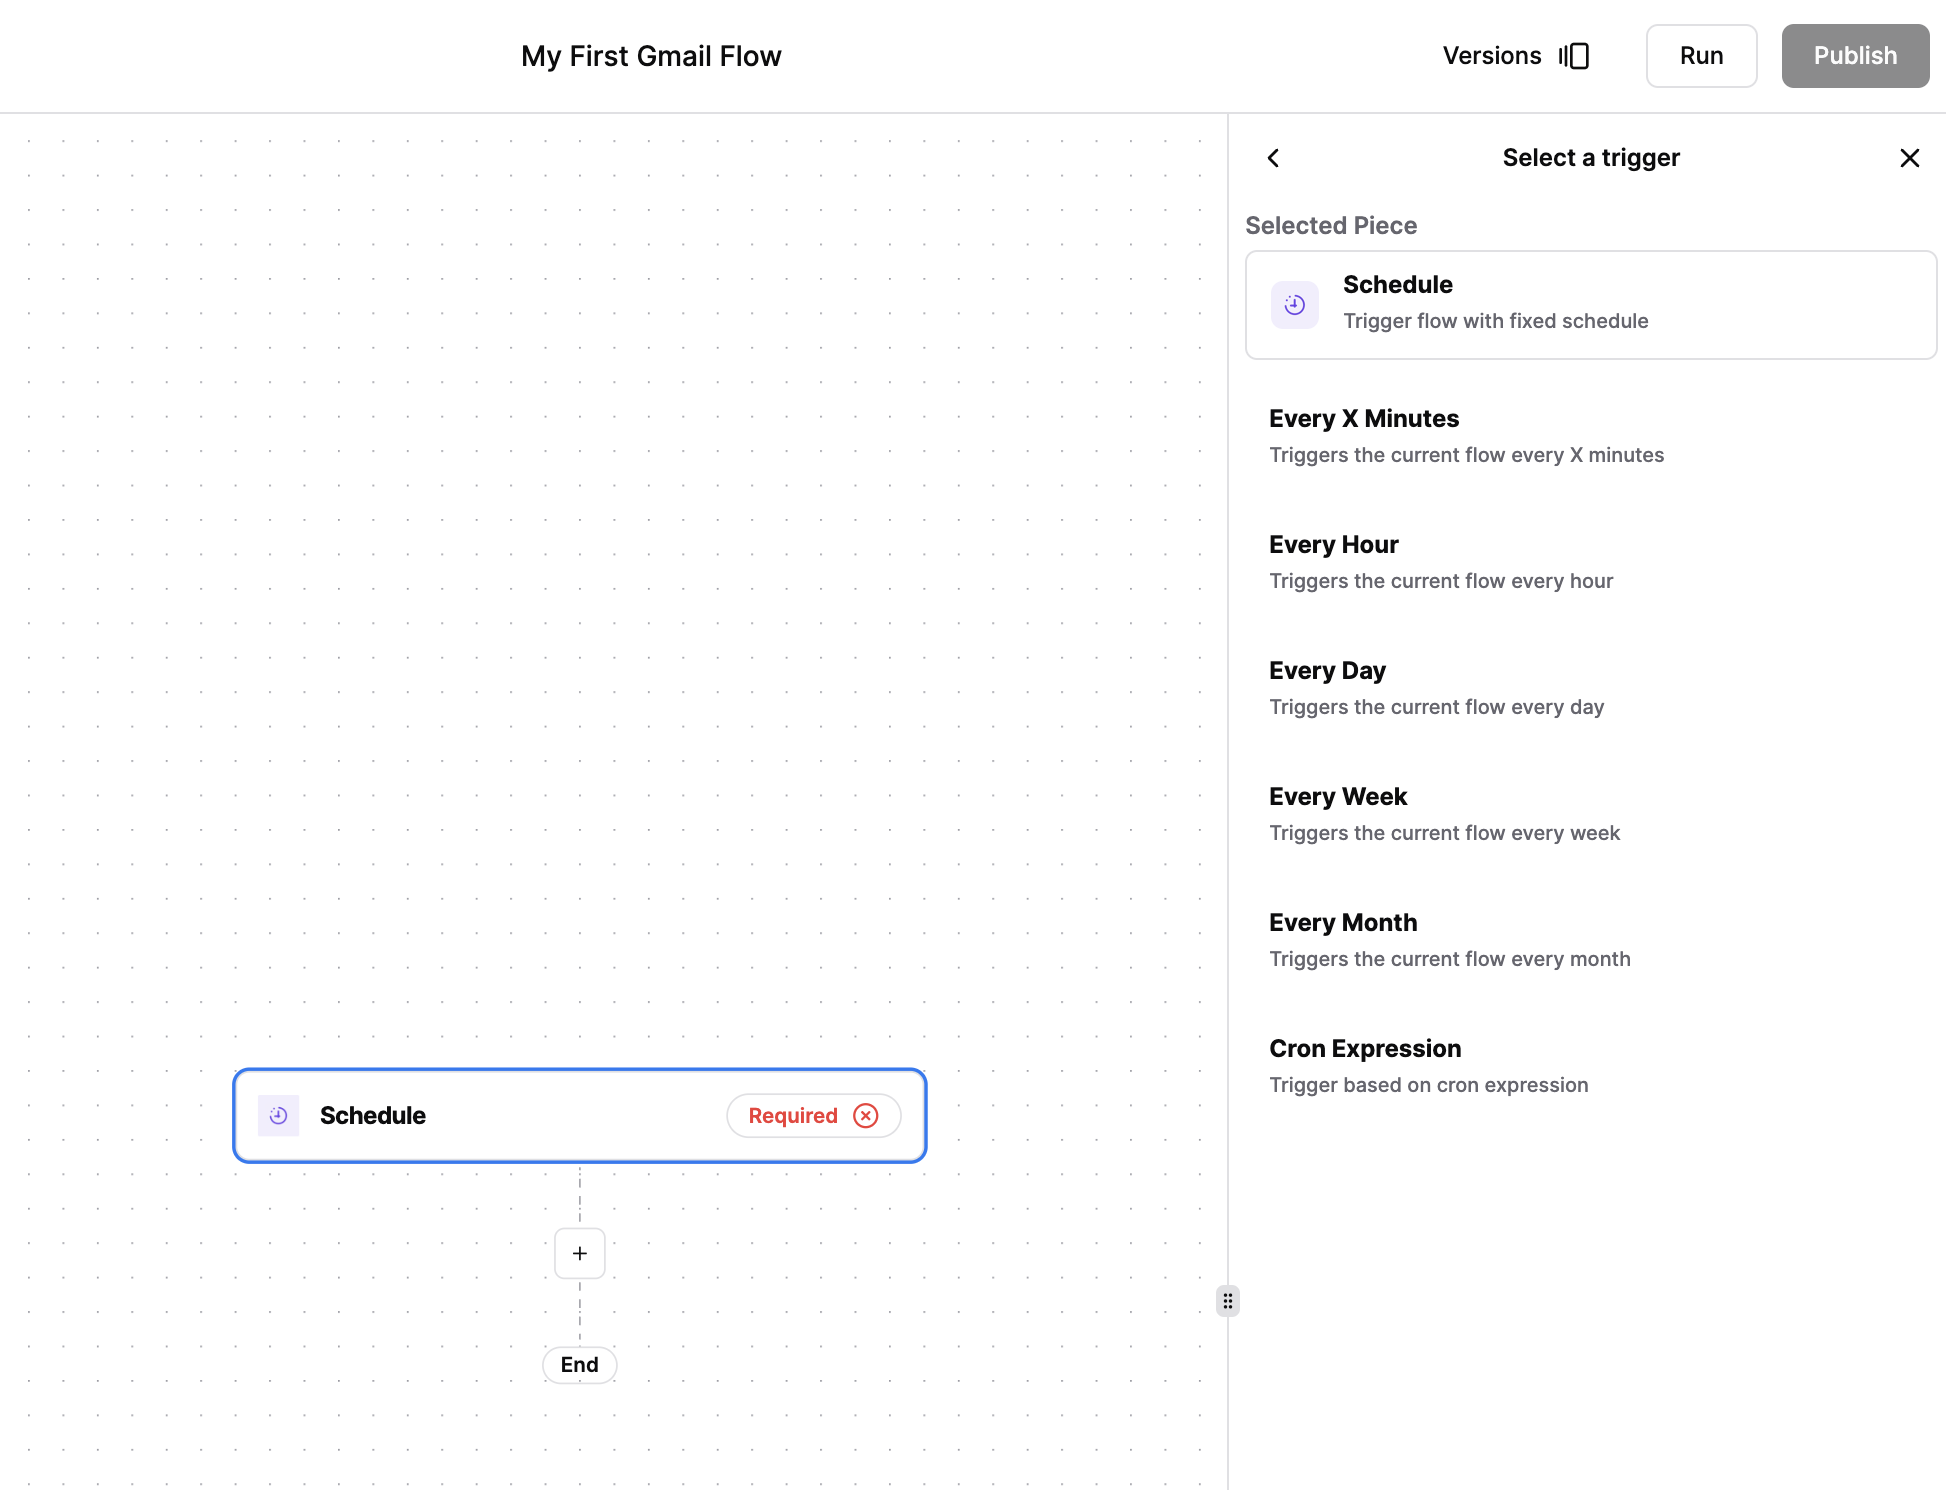
Now that the schedule trigger is selected, we can see the options available. Let's choose the "Every Week" option and set the time to Monday at 9:00 AM.
Add an Action
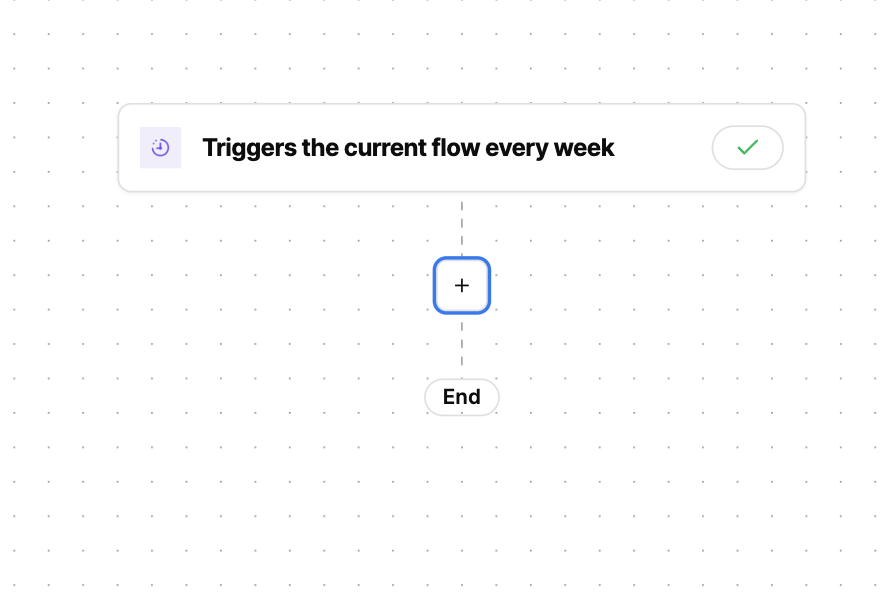
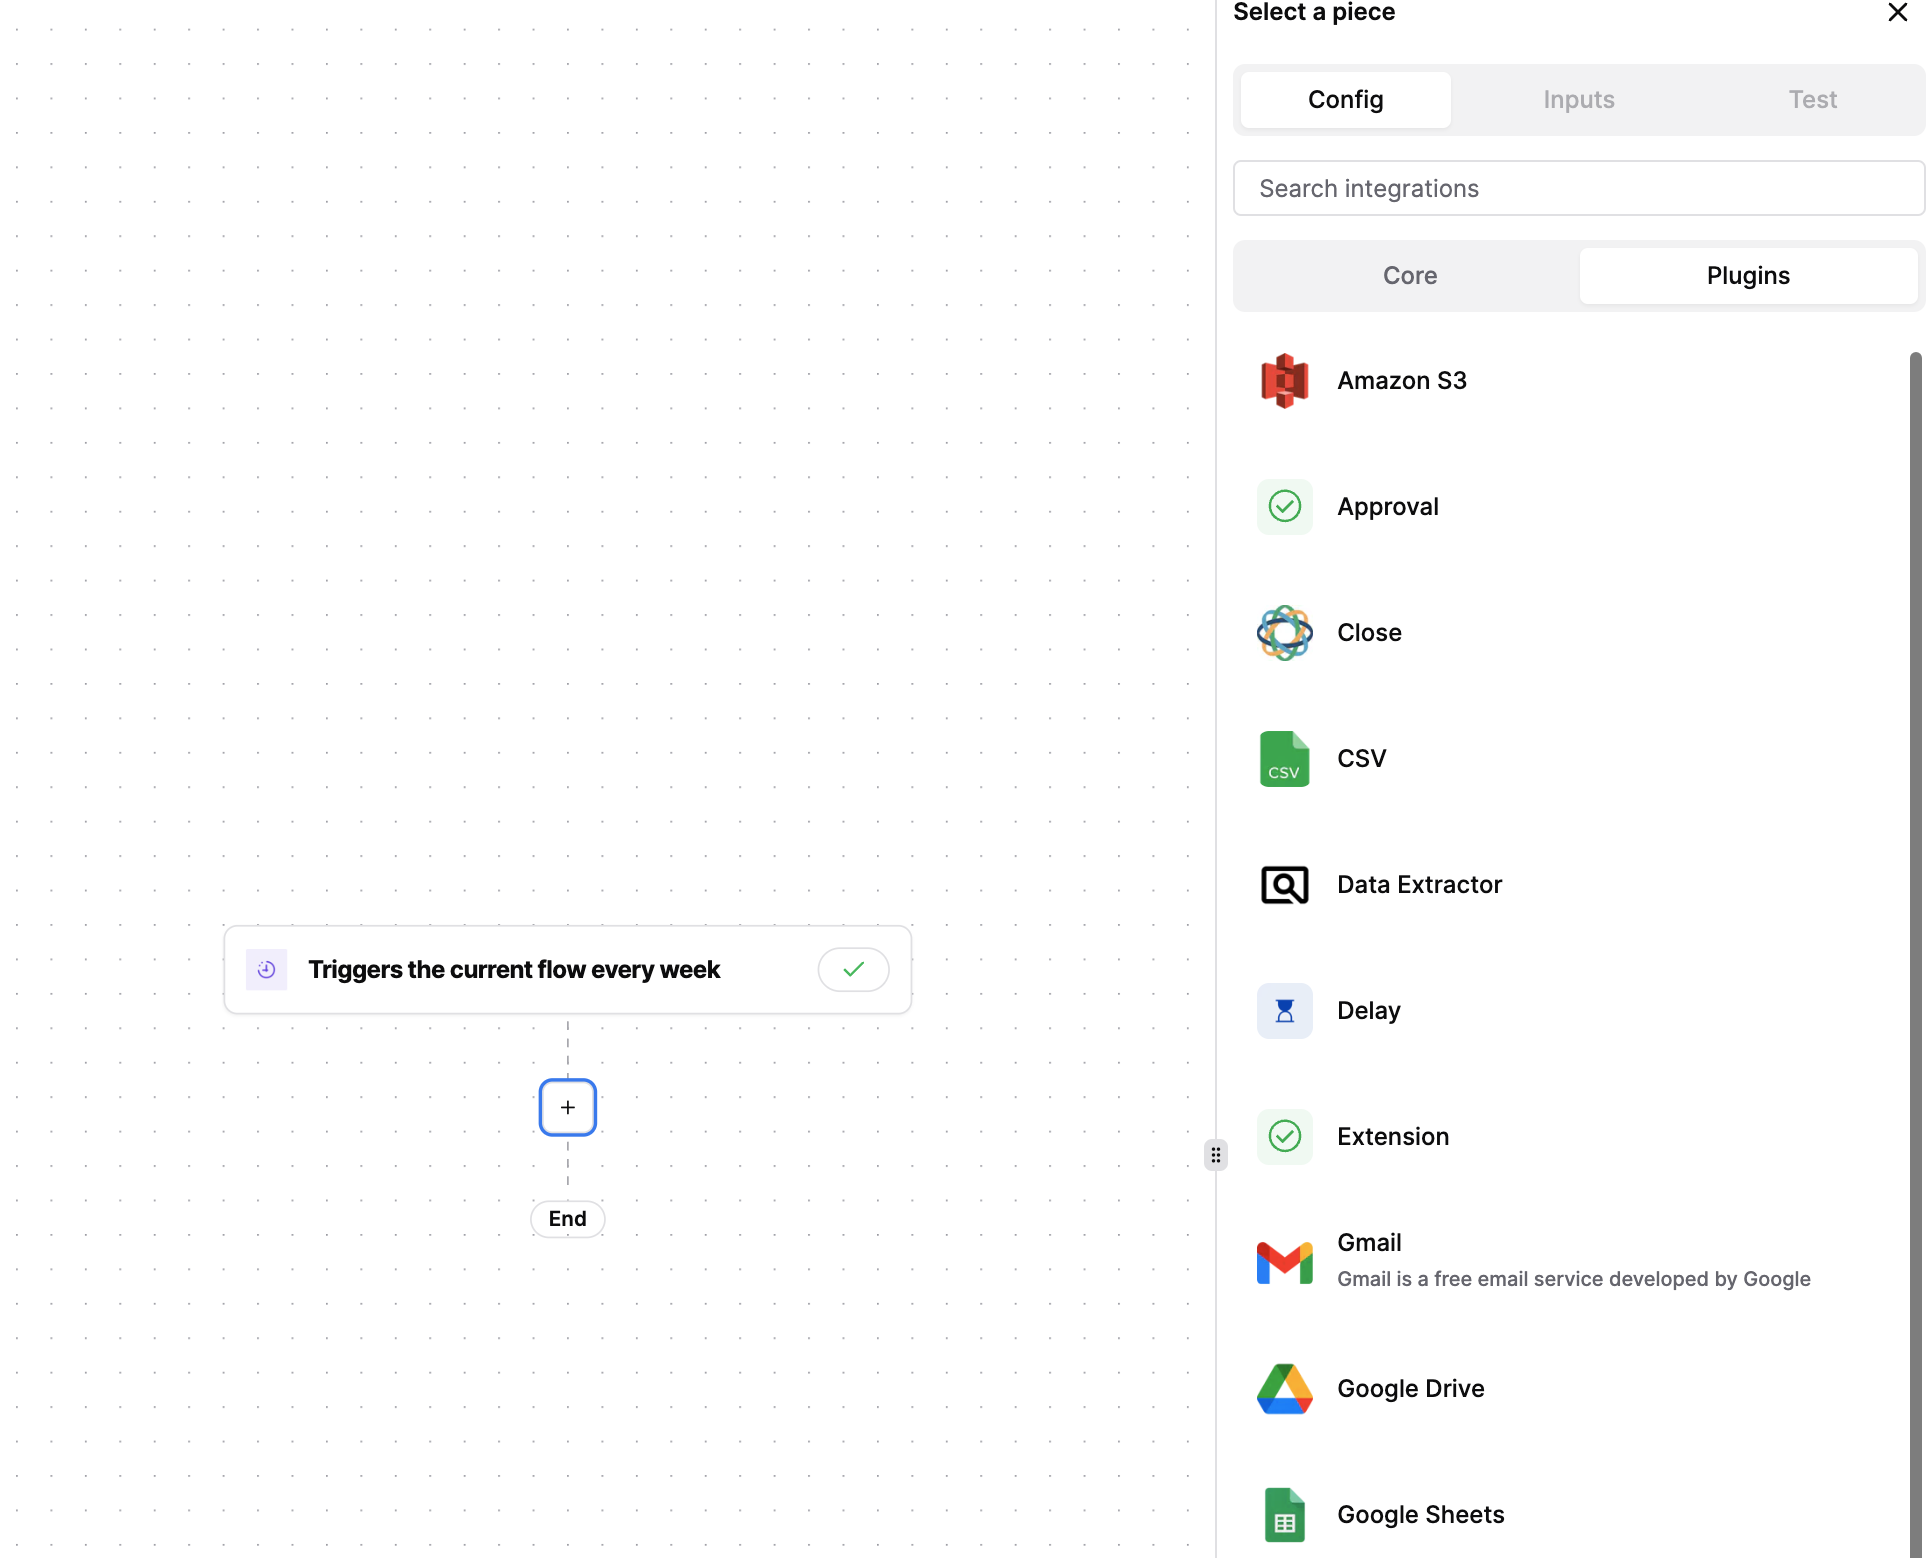
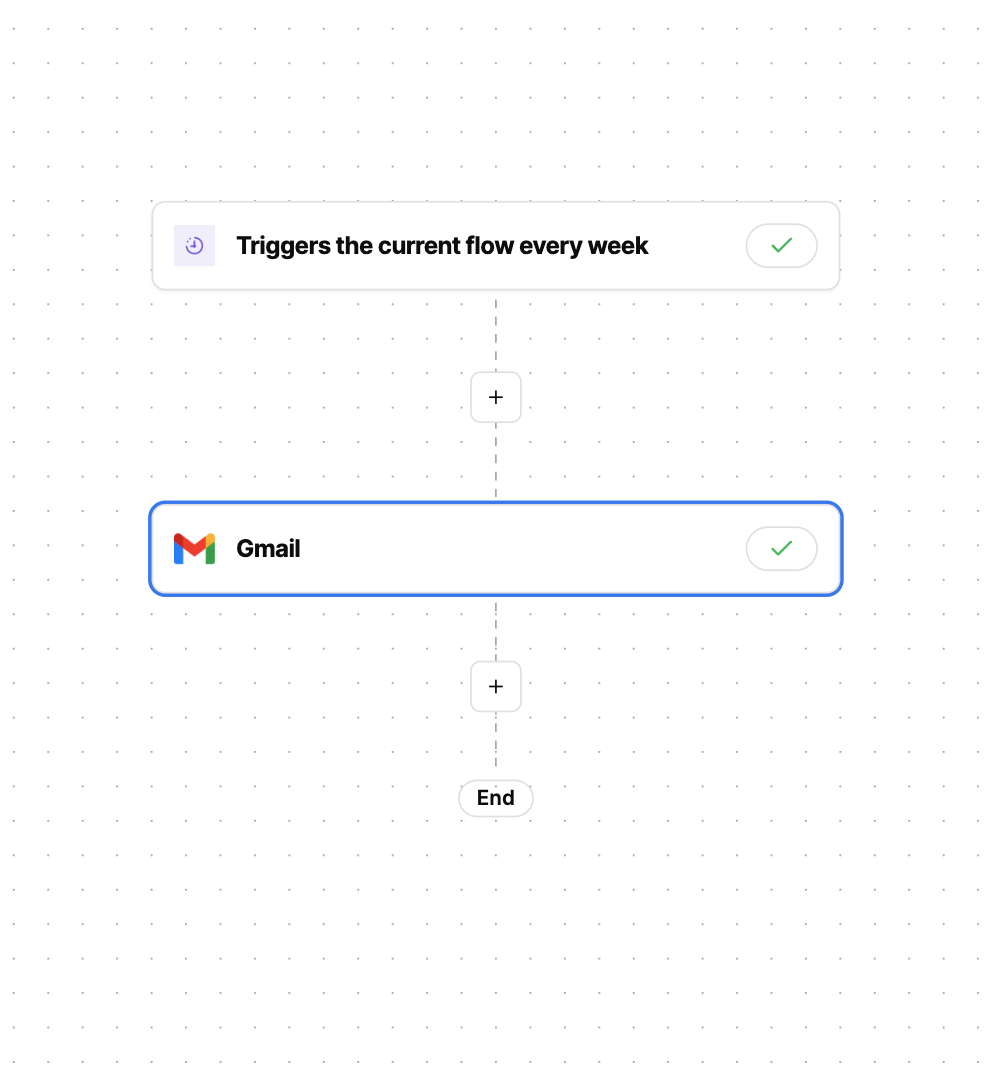
Once the trigger is set up, we can add an action to the :waflow. For this example, we will use the "Send Email" action to send an email using Gmail. Click on the "+" button to add an action, then select the "Gmail" action.
Create a Connection
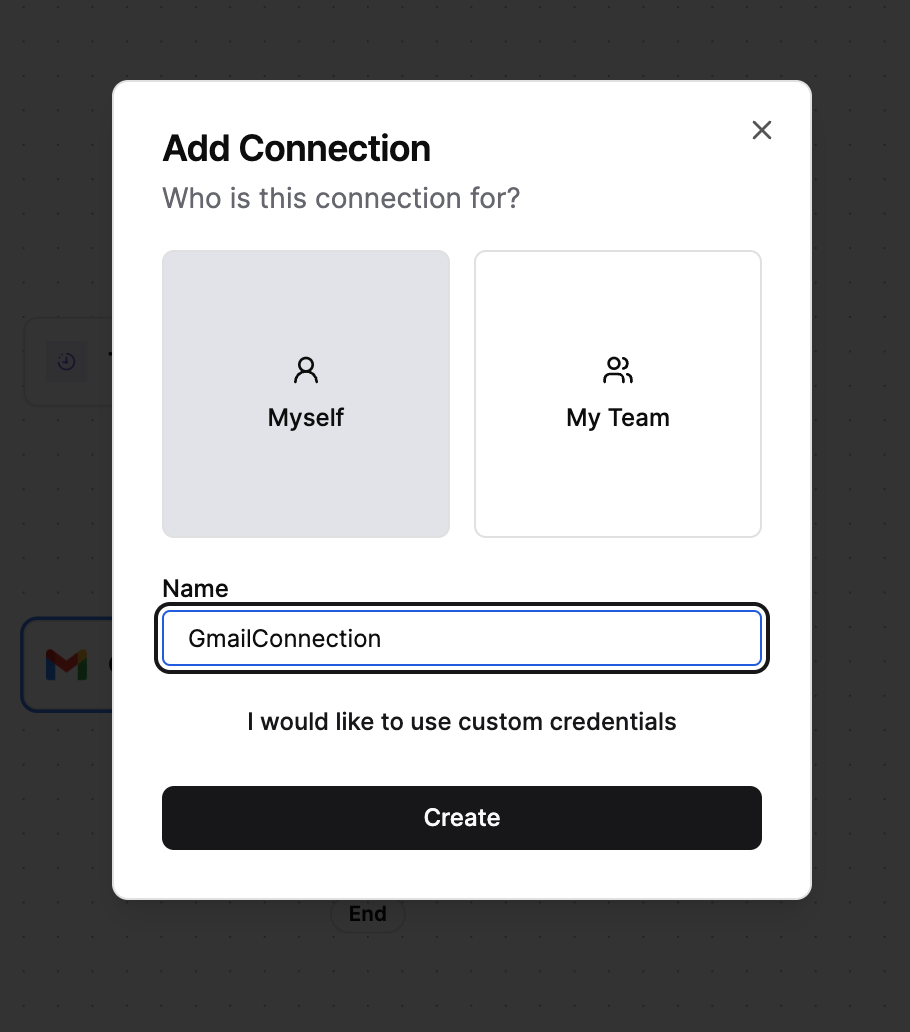
At the top of the configuration sidebar, we will see a dropdown for connections. Since we have not created a connection yet, we need to create a new connection. Click on the "Create New Connection" button, then follow the instructions in the modal. Generally this includes naming the connection and proceeding through OAuth to authenticate with the service.

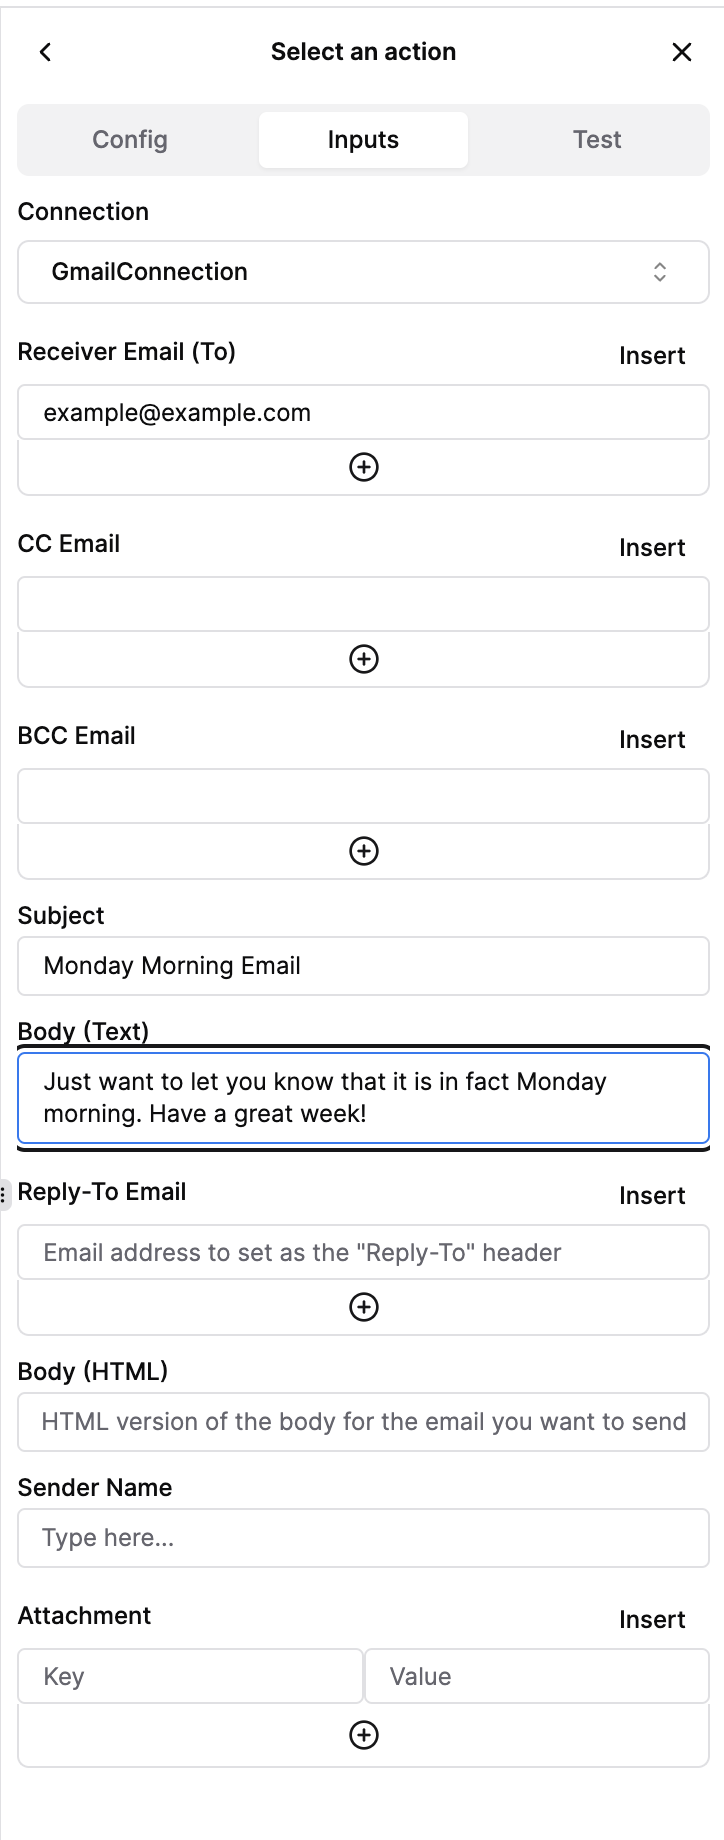
Configure the Action
On to the fun part! Let's send an email letting our friend, "[email protected]" know that it is Monday and we want them to have a great week. Fill in the email address, subject, and body of the email. Before these are filled out, we can see which fields are required by the action by the red asterisk next to the field name. After they are filled out, we see the action has a green check next to it, indicating that it is ready to be run.
Run the Flow
At this point, we can either test actions individually, or publish the flow and run it in it's entirely. For now, we will publish the entire flow. Click on the "Publish" button in the top right corner of the screen to publish this version of the flow.
Once the flow is published, it will run on its schedule at 9am every Monday.
Note: The "Run" button in the top left of the builder will fail unless the trigger type is "Manual". Change the trigger type to manual in the builder, then run the workflow by clicking on the "Run" button in the top right corner of the screen.